Preserved In Amber - Alder Cone Ink
- Angie Rogers
- Aug 3, 2024
- 3 min read
You always wanted to make your own special drawing ink didn’t you? Remember making those fake ancient maps of treasure islands when you were little; Writing with lemon juice to make invisible ink that magically appeared if you heated it with a flame? Staining with tea bags to make the map paper look old.
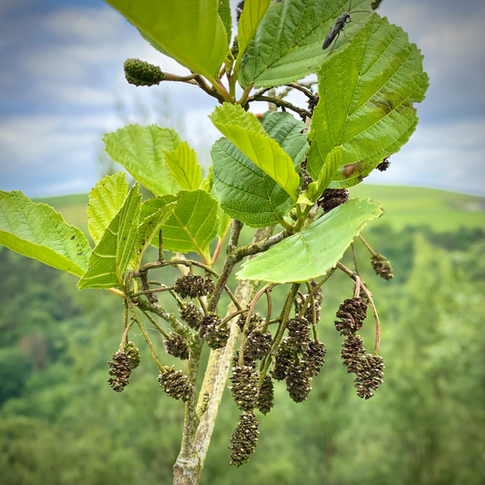
Well, it turns out its easy to produce lovely amber coloured ink from Alder cones. You did know Alder trees make cute little brown cones didn’t you?
Find an Alder tree, they are common, hardy and usually grow near water. If you don't have Alder trees by you, try using other tree cones or acorns or twigs - use your imagination and experiment!
Pick enough cones to fit in a medium saucepan. The cones stay on the tree all year round so this isn't a season dependent activity. Pine cones are not just for Christmas.
Cover the cones with cold water and leave to steep overnight. Next day, heat gently and leave to simmer for an hour. Don't worry, the mixture doesn't make an unpleasant odour. There's no need for a rolling boil and cooking for longer doesn't seem to make the ink better,
I used a steel pan I got cheap from a charity shop. I don't think anything in the Alder cones is toxic but it's good practice to keep your cooking pans separate and only for food.
Here I tested the depth of colour with a strip of watercolour paper. I have to admit I was surprised and delighted by the glowing amber colour obtained from these dark brown cones.
If your ink seems too pale, you can simmer it for longer to concentrate the liquid.
The pan was left to cool, then the ink strained through muslin on a metal seive into a clean glass bowl. I used a small jug with a spout to transfer the ink into glass bottles with lids. It needs a steady hand and you can use a funnel if you don't feel confident.
If you add a teaspoonful of gum arabic to each bottle of ink, this acts as an emulsifier, adds
a slight gloss and stops the ink bleeding into the paper surface. You can buy gum arabic on line or from an art shop. Its a natural product made from the resin of a type of Acacia tree and is used in the manufacture of watercolour paints.
You can see how the ink varies in tone and depth depending on how thickly it's applied.
Excitingly, you can completely change the colour of this ink from amber to dark grey by the addition of one simple ingredient. Iron water is just water with rusty bits of iron such as nails and steel wool left in it. I added a splash of vinegar to speed up the process.
Thats the iron water in the middle, it's a juicy rusty colour in the jar but instantly turns the golden ink to dark grey. Best to wear gloves when mixing the ink, my hands were stained with dark blotches for days afterwards!
Now your ink is made you have tones of yellow and black to play with. Revisit childhood games of making those treasure maps I mentioned at the beginning or use your ink to create some art.
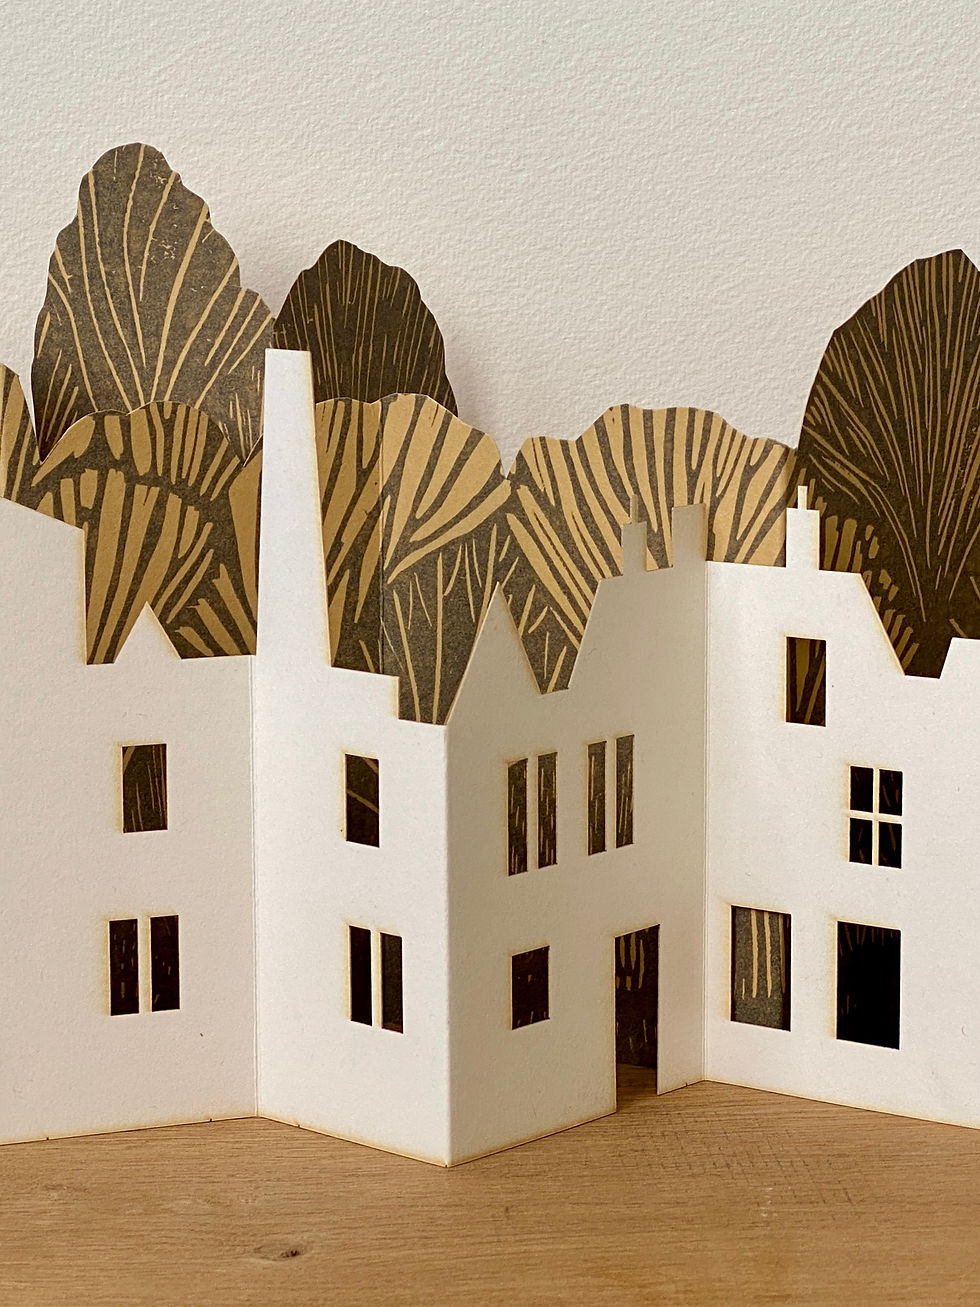
Here are close-up details of something I've been working on for a while now. It depicts my local woods and nearly all the materials used have been made from natural items that grew there in Lee Wood. I've used both colours of Alder cone ink, ochre paint made from earth, charcoal made from willow trees growing by our river Hebden Water and smoke from burning twigs.


I love the circularity of this project: making art materials from natural things found in my local area which are then used to make art featuring the landscape I walk through every day. Nature is both the inspiration and the source.
The more you engage with your nearest green spaces, the more connected to nature you will become. Its important you use all of your senses to experience the wild places, to feel the textures of twigs, lichen, bark and mosses, to notice the different scents, not just the obvious ones like flowers and fungi but the subtle hints of sap, earth and crushed foliage. The heft of stones smoothed by river water.
And finding practical uses for things you find on your walks enhances your observation and creative skills, you become alive to the potential in nature.


